How To Use Hard Wax Beans For Hair Removal – The Definite Guide
 Waxing is one of the best hair removal techniques for a few reasons. The main one being that it leaves you hair-free for longer periods of time over shaving or using a depilatory cream. Using hot waxing beads is a method that is catching on like wildfire! It’s a little bit different from your traditional waxing but it’s pretty simple to do once you get the hang of things and avoid most common mistakes.
The Ultimate Step By Step Guide On How to Use Hot Waxing Beads
If you’re new to the world of waxing beads, this ultimate guide will give you all the information that you need so that you can wax with confidence and safety.

Before we get stuck in, if you aren’t 100% sure what hard waxing beads are, here is a quick break down: hard waxing beads or hard wax pellets as they are also known is a new stripless form of waxing with a base of all-natural resin. Because the hard waxing beads are formulated to only grip the hair and not the skin, it’s a lot less painful than traditional waxing. This new formulation also means that there is a lot less mess (no strips to throw away) and a lot less of a chance of bruising.
Now that you know the “what”, let’s get onto the “how”. There are a few things you will need to make sure that you have before you start waxing:
- The hard waxing beads: this is a given but make sure that you have enough to wax the entire area that you will be working on. Our top pick is the Finewind Hard Waxing Beads. These bright blue babies are infused with lavender making this wax incredibly soothing, ideal for more delicate areas.
- A wax pot or warmer: this is also a pretty logical piece of equipment to have, you need to melt your hard waxing beads in something. Because wax beads melt so quickly, you could use a microwave to heat them up, but a proper wax pot is definitely a better option as it will maintain a constant temperature and keep your wax melted for longer. If you’re looking to invest, the Yeleen Brazillian kit is great; it includes a wax warmer, four flavors of hard waxing beads, and ten wax applicator sticks.
- Wax applicator sticks: although you can use your fingers to pull the wax off when it’s dry, you’ll need an applicator to initially apply the product as it is liquid and quite warm. It is fairly easy to find both plastic and wooden applicator sticks, just pop into your nearest drugstore.
Time To Get Waxing!

If it is your first time using hard waxing beads, we would suggest that you do a patch test on the inside of your arm, 24 hours before waxing a full area. You just want to be sure that you aren’t allergic to the product. Another tip for beginners is to start small – don’t go straight into waxing large areas or long strips. Do small patches on easier areas (like the legs) in the beginning until you perfect your technique, you can then move onto more tricky areas like the underarms
- Cleanse your skin properly: this is a step that so many people skip but it is actually so important. If there are excess oils, like body lotions on your skin, this can cause the hard waxing beads to not adhere to the hairs, giving you a less than satisfactory result.
- Melt your hard waxing beads: as mentioned earlier in this article, you can use a microwave to melt your wax but we recommend using a wax warmer as it is much easier to keep your wax at the correct consistency for the duration of your waxing. The best way to melt your hard waxing beads is at a medium temperature, stirring them with an applicator every now and again to speed up the process. Using a moderate temperature will ensure that the wax will be at a comfortable temperature for you to apply to your skin. In terms of consistency, you want the wax to resemble honey. Remember to test the temperature of the wax on the inside of your wrist before going ahead and applying the wax to the area that you want to work on.
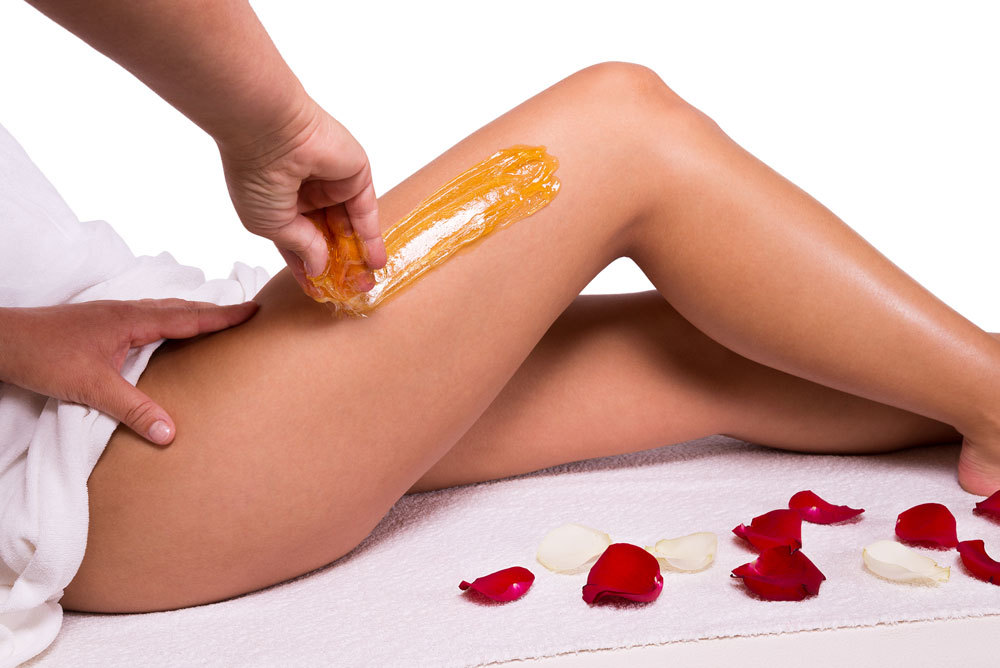
- Application: although hard wax can be applied in any direction, you get the best results when it is applied in the direction of the hair growth, so have a good look at the hair on the area where you want to wax. Once you’ve established how you will be applying the wax, it’s time to dip your applicator into your pot. Give it a swirl and pick up a marble-sized amount and smooth it on the area. Make sure that you apply the wax in quite a thick layer with thicker edges and in small patches.
- Removal: hard wax doesn’t take very long to set, to test your patch, give it a knock with your fingernails, it will sound hollow-like if it is set as well as feel smooth and firm to the touch. To remove the patch, flick up one of the edges and then pull it off against the hair growth. You need to do this in a quick, swift movement; this will give you a smoother and more pain-free wax.
- Keep on waxing: repeat the process on the entire area, remember to apply small patches with thick edges.
- Aftercare: although hard wax doesn’t leave any residue, if you have sensitive skin you may experience some redness. If this is the case, simply apply some aloe vera gel which will cool and soothe the area immediately.
And that’s it! Now you are perfectly smooth and hair free, and it wasn’t even painful!
Hard waxing beans are great for all skin types but remember to always do a patch test if it’s your first time and to always test the temperature on the inside of your wrist. If you follow all the steps you’ll be able to enjoy being hairless for a good few weeks, what an absolute pleasure! As always, to choose the best wax warmers and beans, you can follow this page and I’ll keep you updated!
